Terminal blocks are types of electrical connectors. They provide a convenient means of connecting each electrical wire without a splice or physically connecting the ends. They are normally used in connecting wiring among different items of equipment in an enclosed space or to create connections amongst individually enclosed items.
A terminal block is one method of connecting a selection of different electrical wires. Terminal blocks come in a variety of different shapes and sizes so you can normally find one that will be compatible with whatever project you are carrying out. The differences in terminal block can lead to problems if an incorrect type is used or if it is not connected properly.
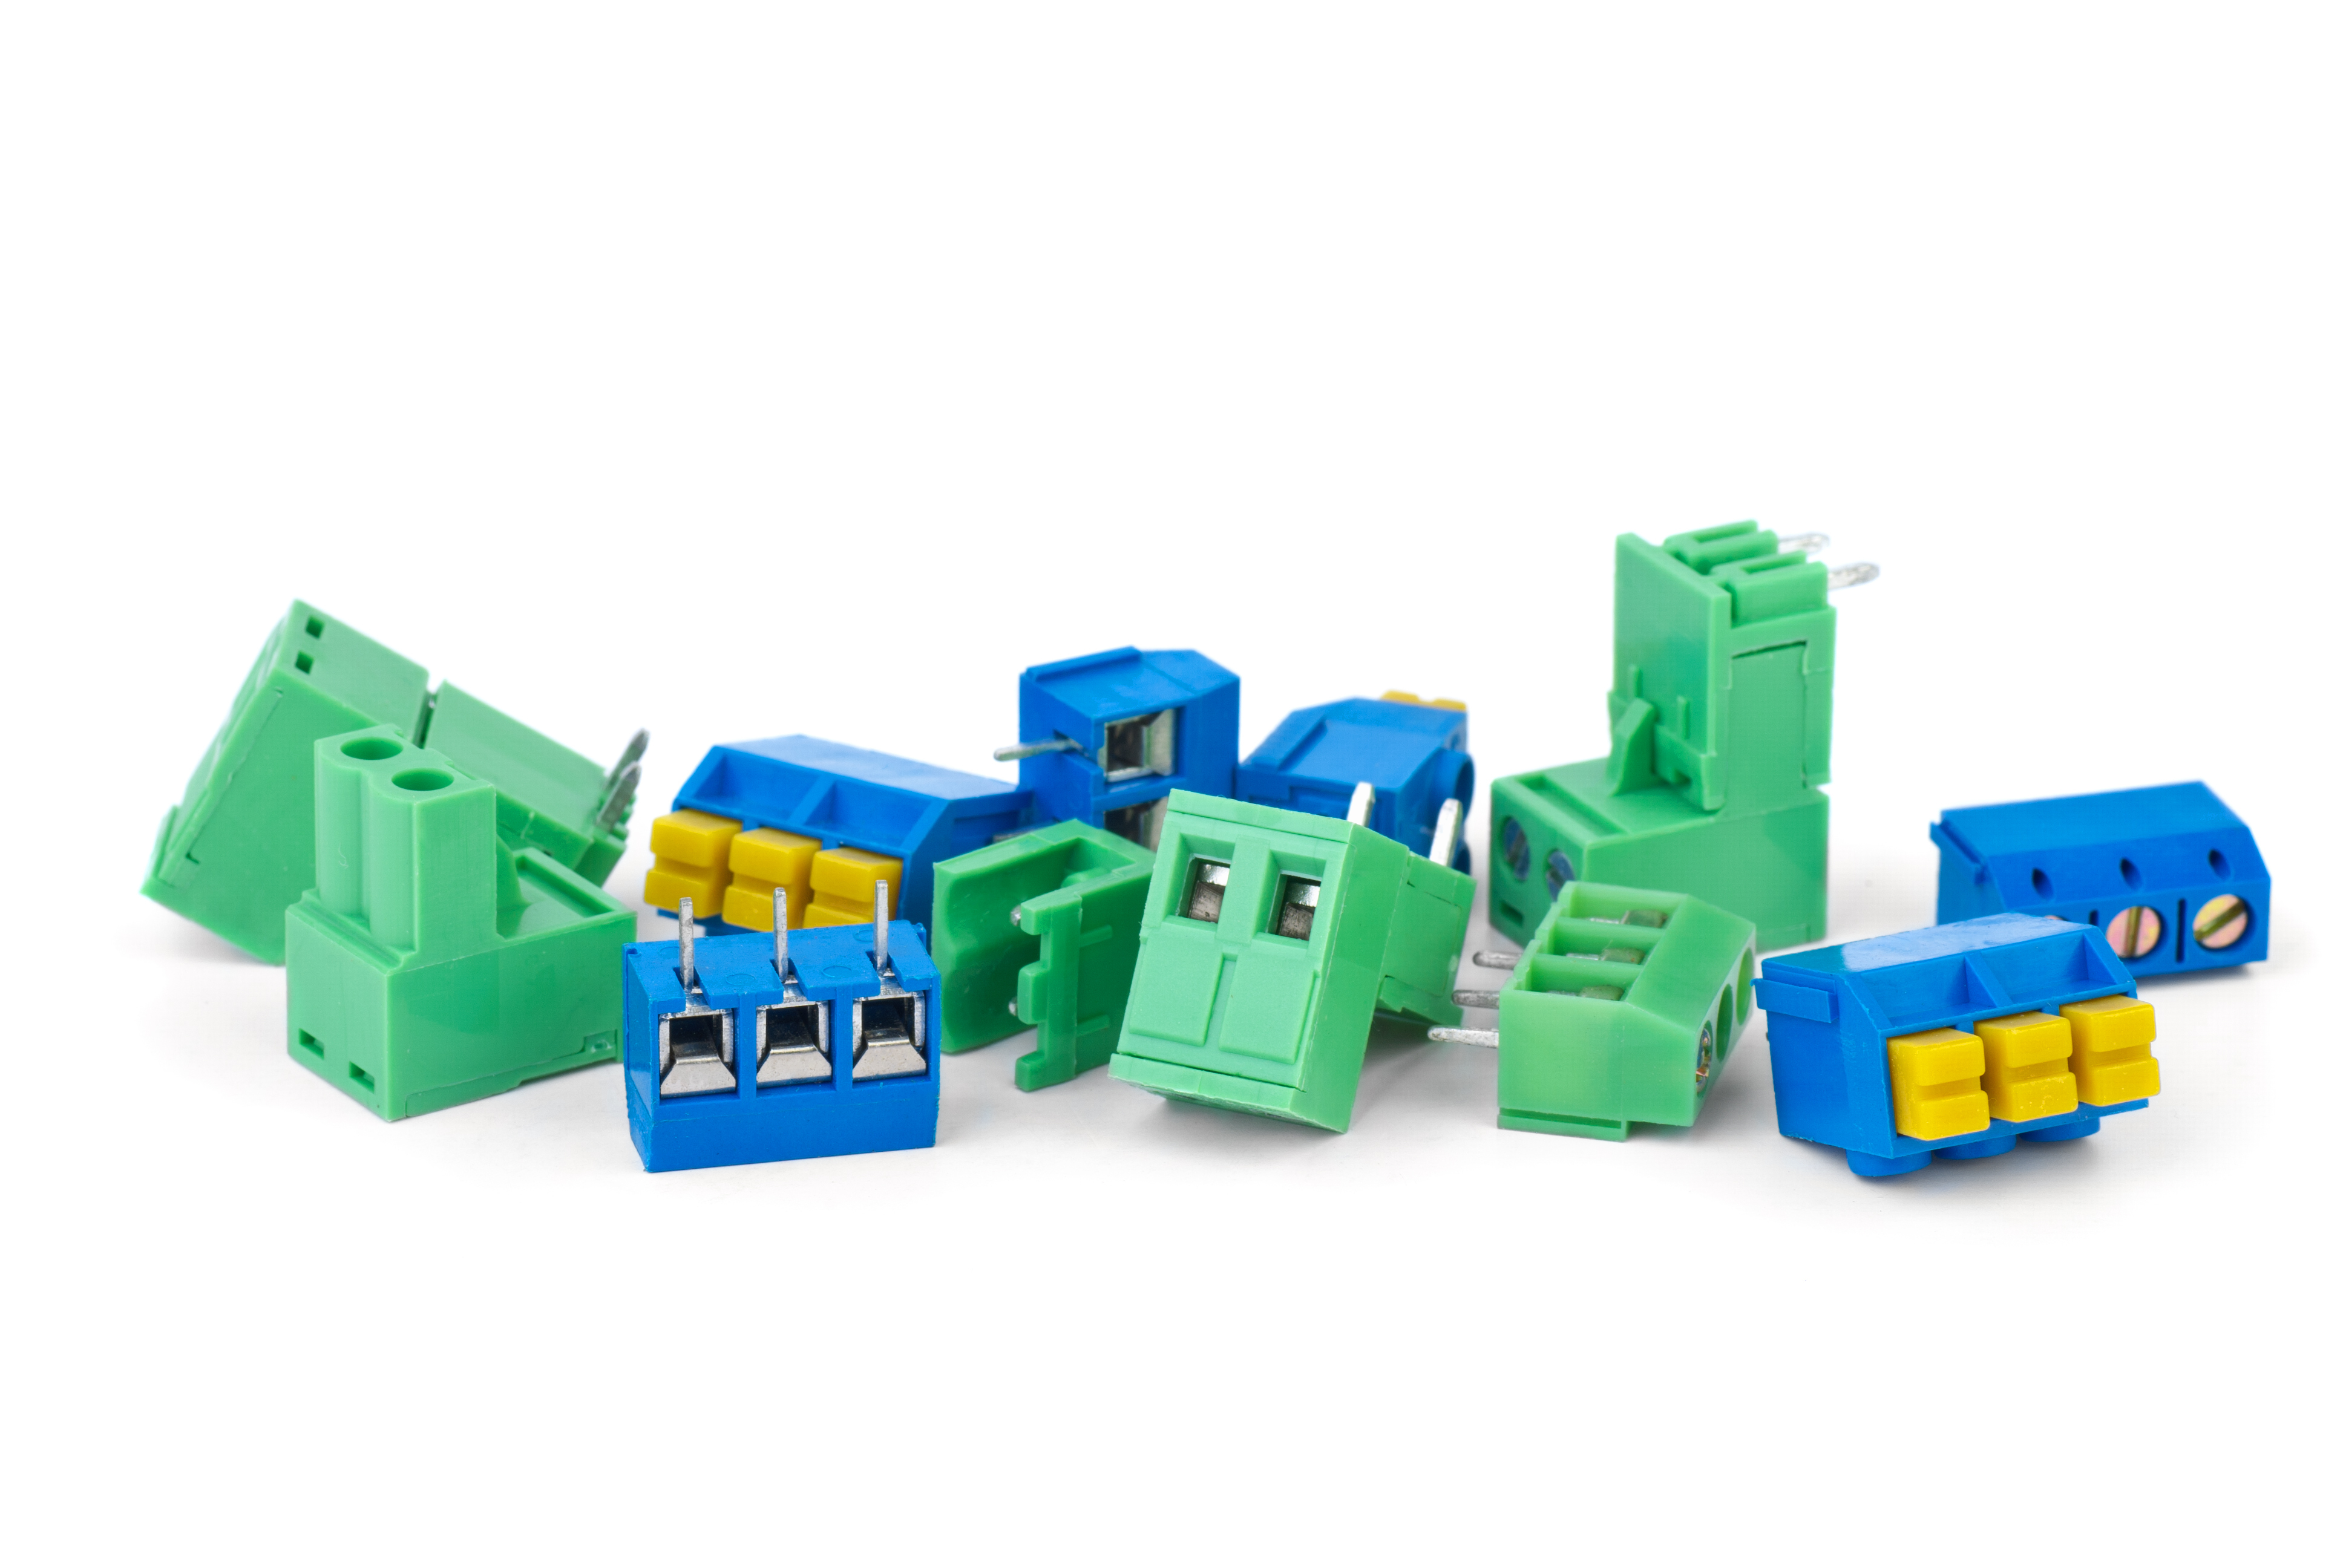
Step 1 – Terminal Block Type
Look at the electrical equipment you are working on to see what type of connection it requires. Normally you will have either a screw-in or plug-in connection. Screw-in wires are placed inside the terminal block and screwed into position. This type of connection is common for equipment that does not require high voltage protection. A variation on the screw-in connection is one held in place by a spring mechanism. This connector can reduce the time spent on the job because you simply clip it into place instead of removing and replacing the screw. A plug-in connection has a male terminal at the end of the wire. This terminal is connected to the female port on the terminal block and forms a secure connection. Plug in blocks are commonly used in the fuse box of an automobile.
Once you know the type of connection that is required, you need to find a terminal block that fits the rest of your requirements. Consider what space you have for the connection and how many wires need to be connected. Terminal blocks are supplied in a variety of shapes and sizes so you should be able to find one to fit your requirements. Next, choose the correct rating: 3, 5, 15 or 30 Amp terminal blocks are widely available. You need to buy the one that meets the highest current level that it will conduct in order to allow the most powerful piece of equipment to function.
Step 3 – Screw-in Connection
Always make sure that any electrical equipment is turned off before beginning work. For a screw-in connection, you will need to strip a small amount of the insulation from the end of the wire. Normally, around 1 inch is sufficient but this will depend on the component. Unscrew the retaining screw from the terminal block then insert the wire into the hole. Tighten the screw into place. Make sure that it is fully tightened because if the wire is left loose, it will begin to heat up and melt the insulation. Over time, this could result in a fire so take a little extra time to make sure that it is secure.
Step 4 – Plug-in Connection
Position the terminal block and run the electrical wires to it, connecting the male terminal to the female port. Press firmly to ensure that the connection is secure and won’t come loose in the event of any subsequent movement.
Step 5 – Test Equipment
Once you have made all the connections, test the equipment to make sure it works correctly. After testing, check the terminal block and the connections to make sure that there is not excessive heat build-up and the wires are still securely in place.
